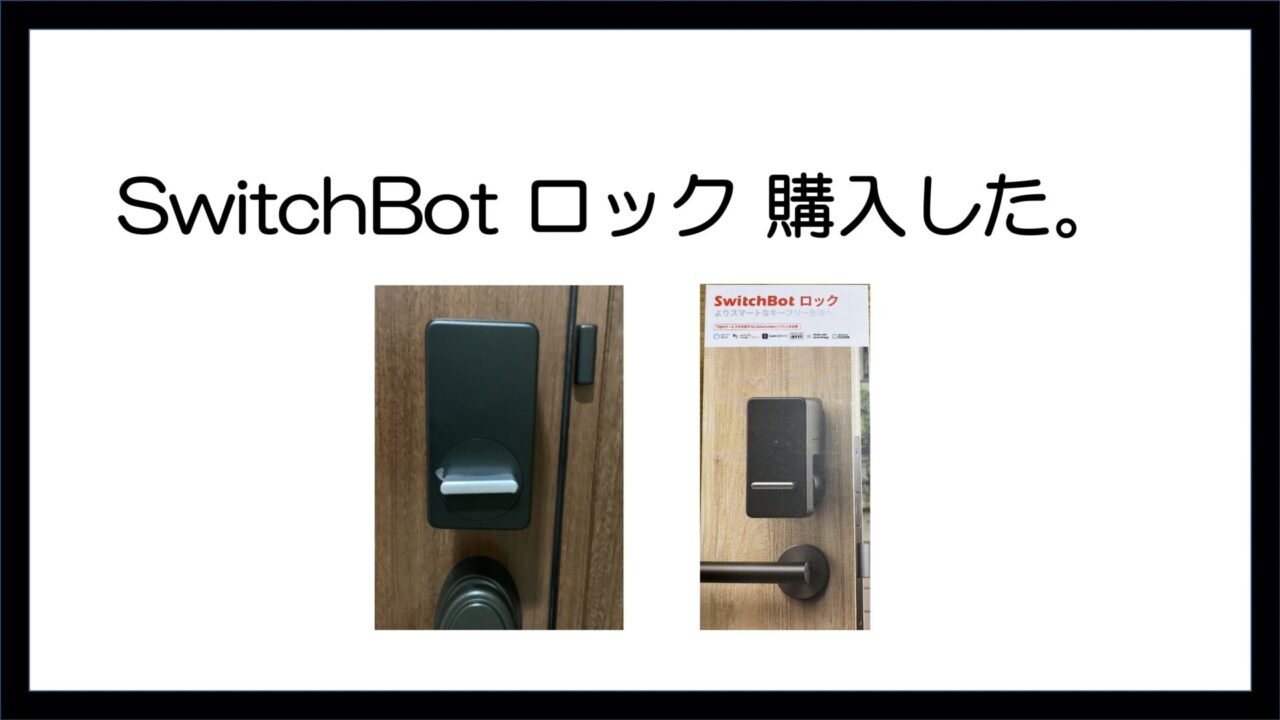
SwitchBot ロック 購入した
記事内に商品プロモーションを含む場合があります
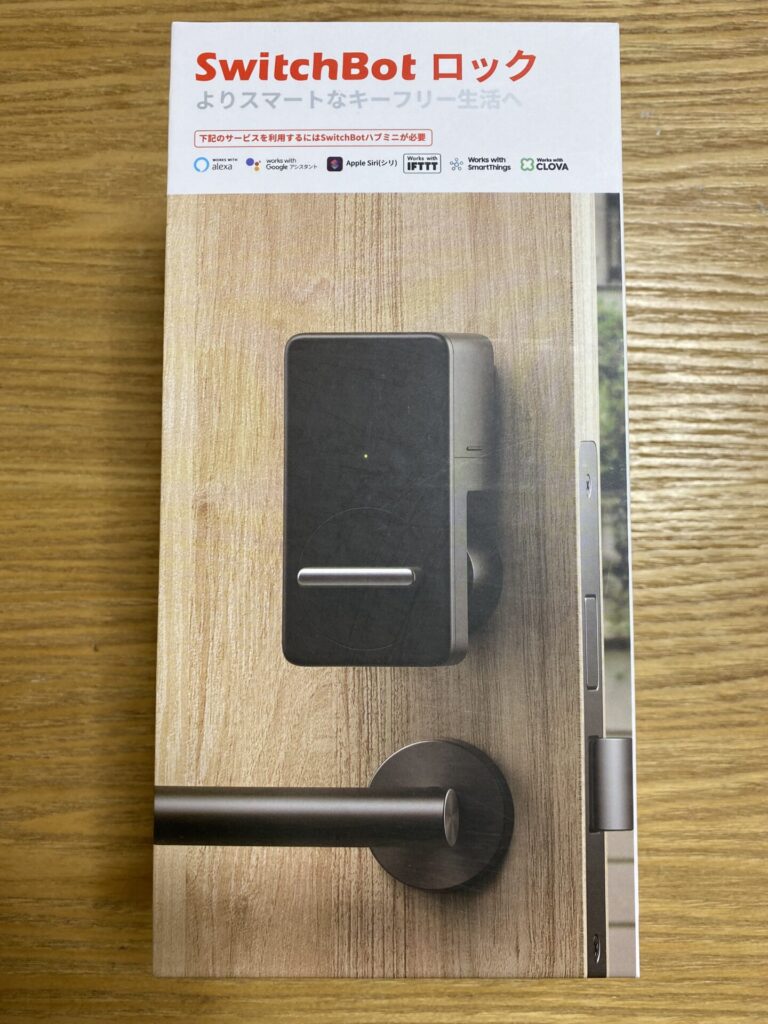
Amazonで予約発売されていたので予約したが発売予定日になっても発送されなくて
やっときた~~~~!
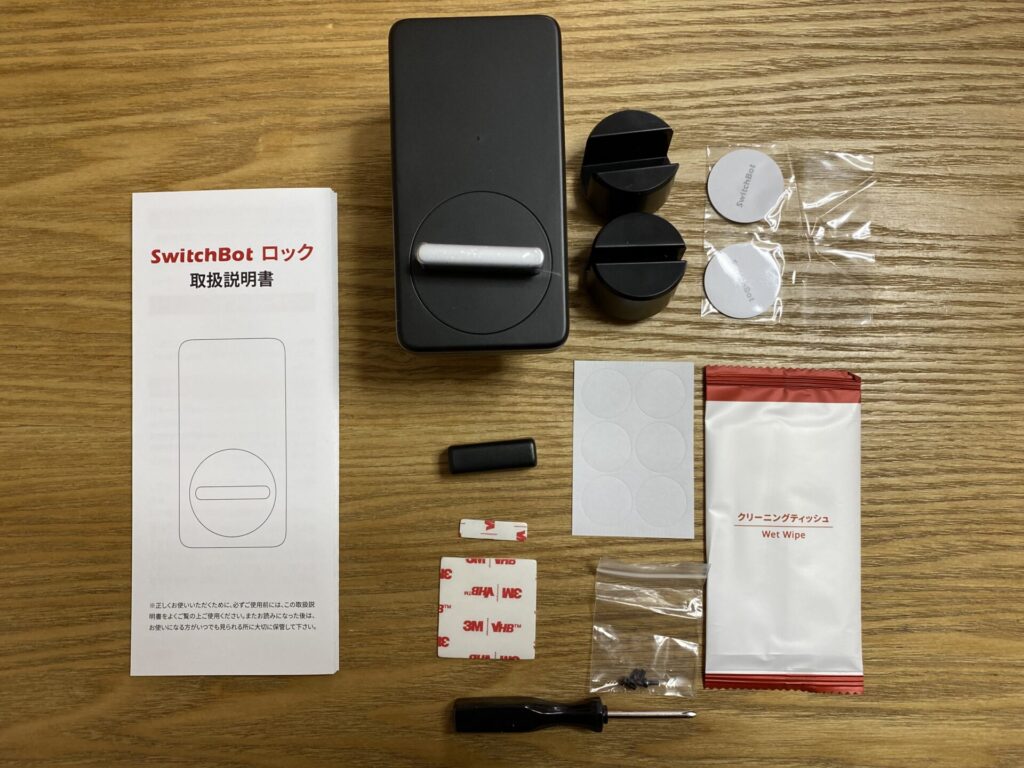
同梱品
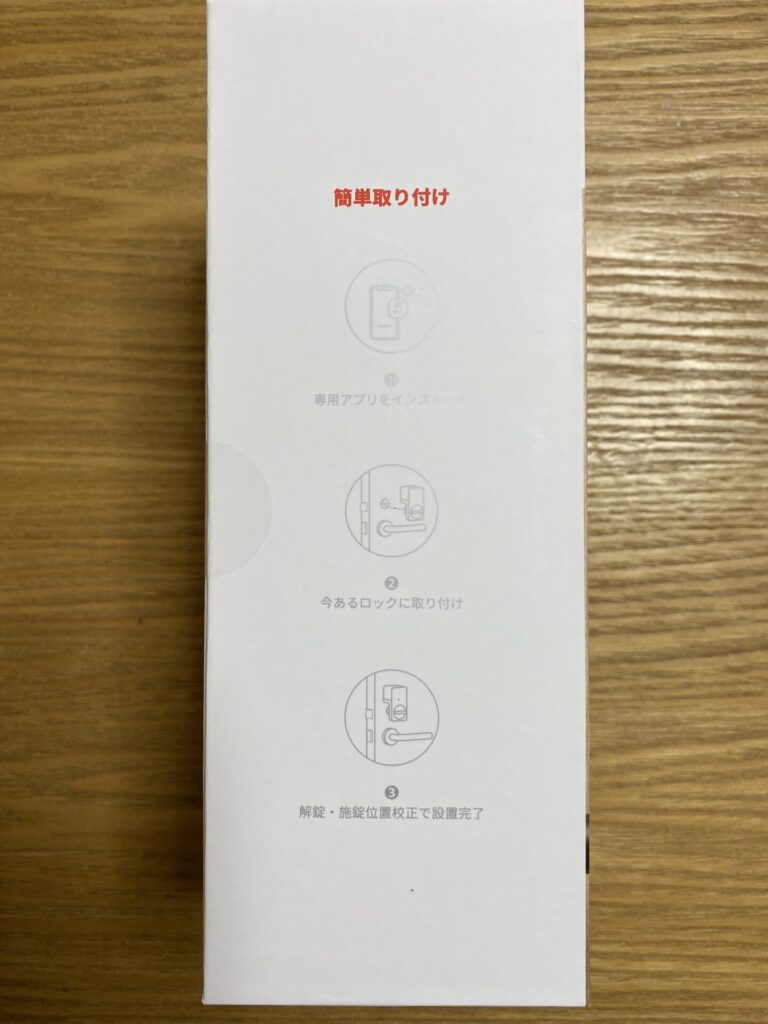
設置しま〜す
まずは、どのアタッチメントにするか確認です。
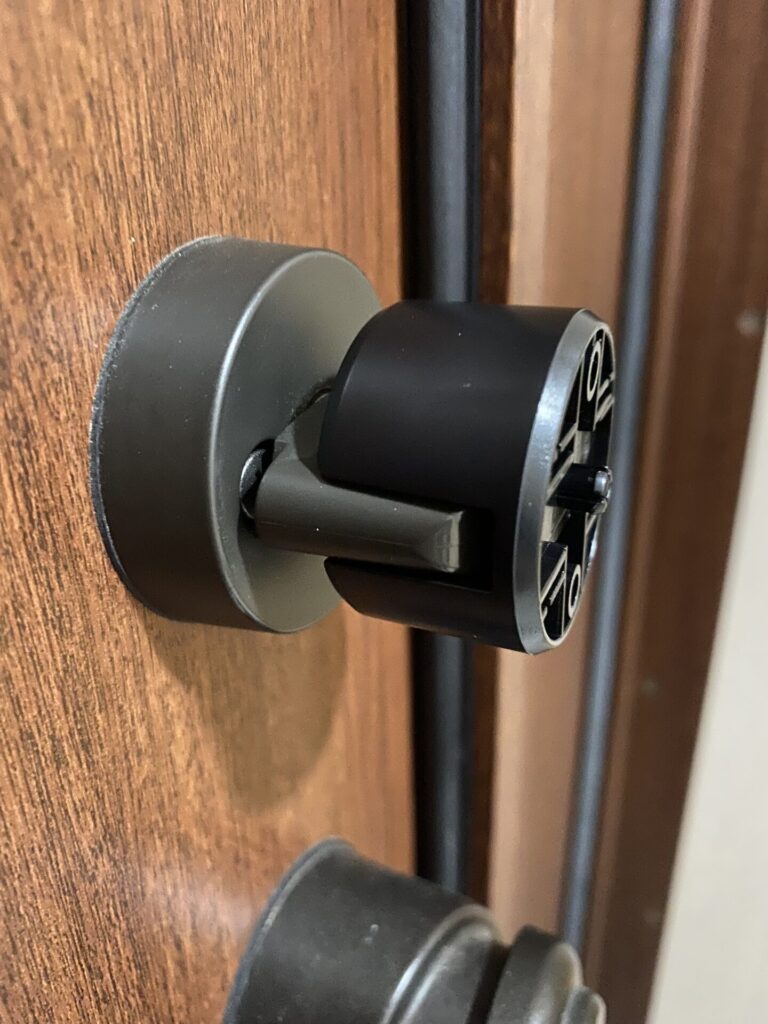
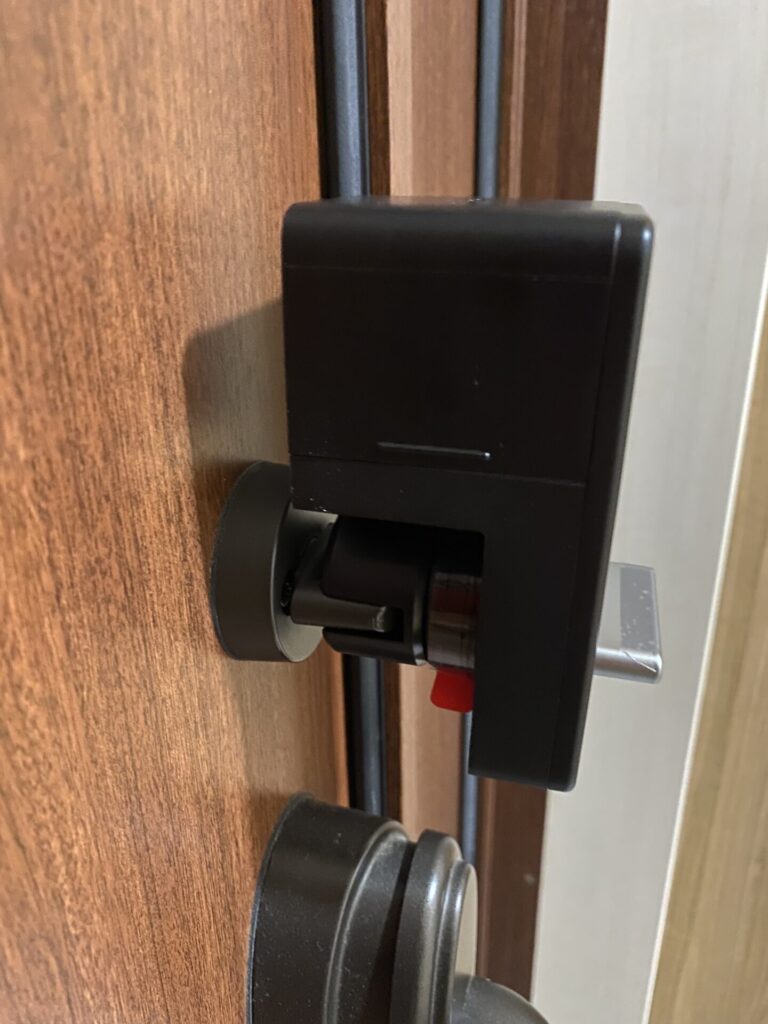
アタッチメント取り付けてこんな感じです。
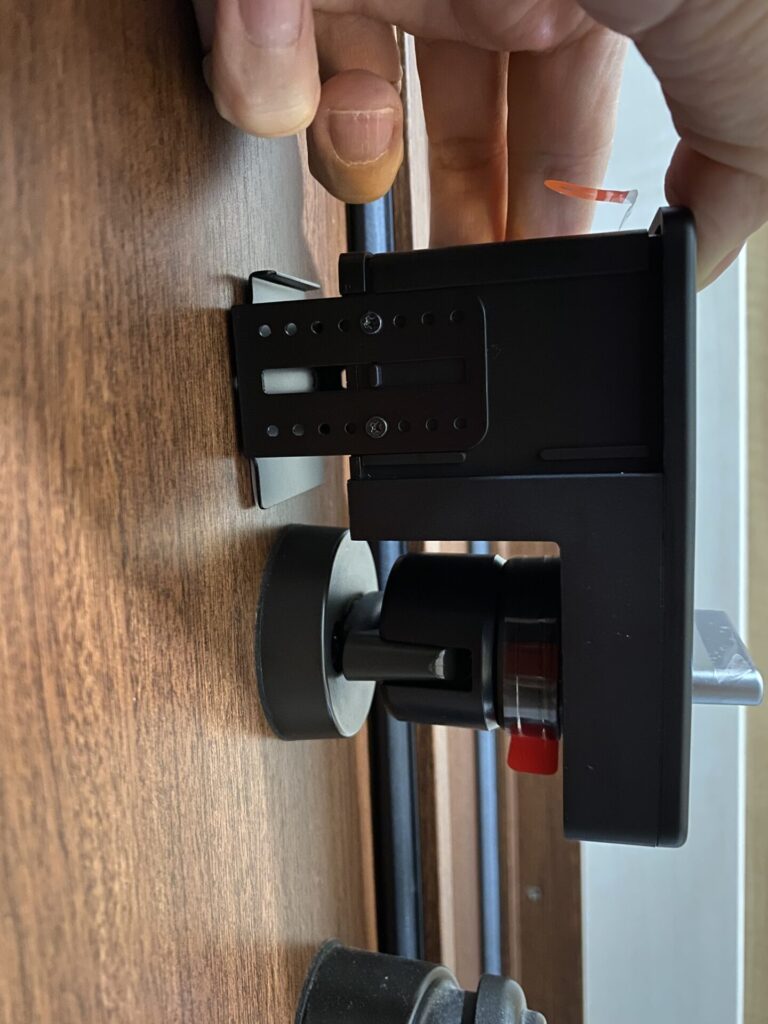
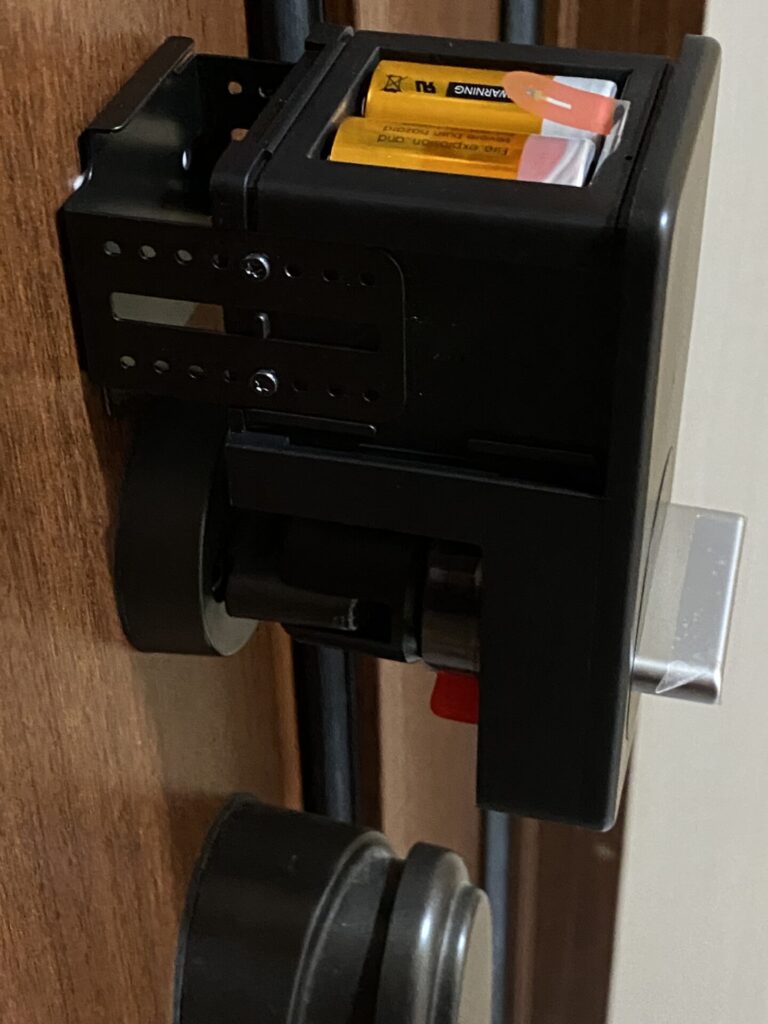
高さの調整をしますので上蓋を外してネジも外します。
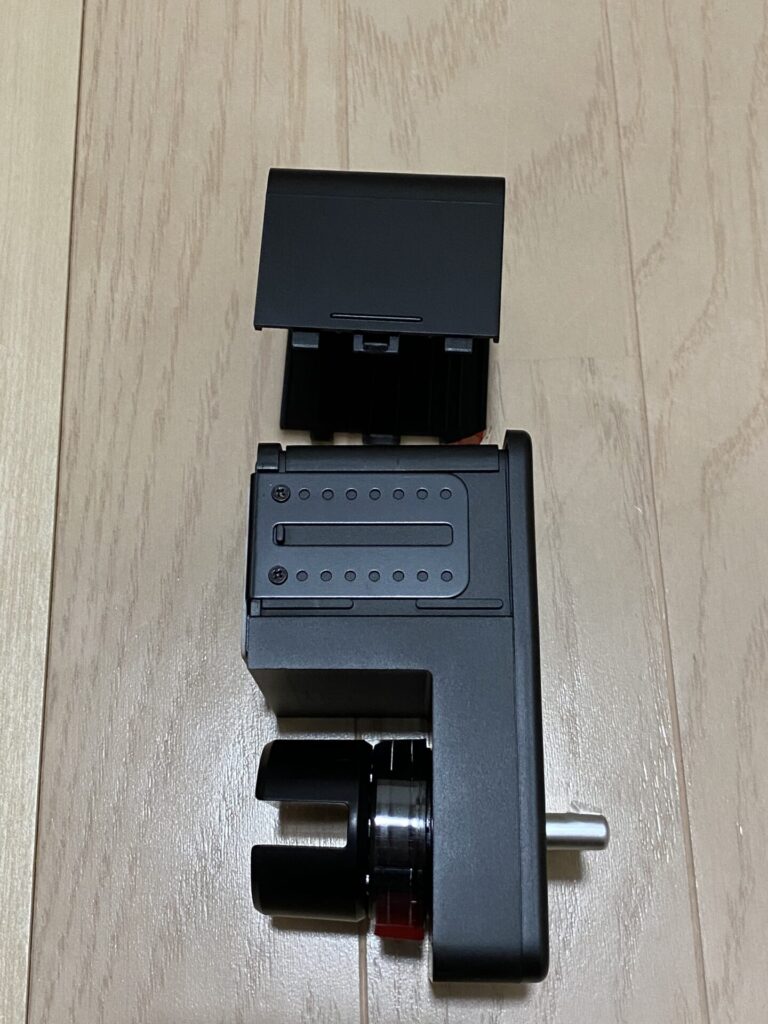

こんな感じかな
取り付ける前にクリーニングティッシュで貼る部分を綺麗にします。
注意:外が寒いとドアに水滴が付いていますのでしっかり水分を拭き取ってね。
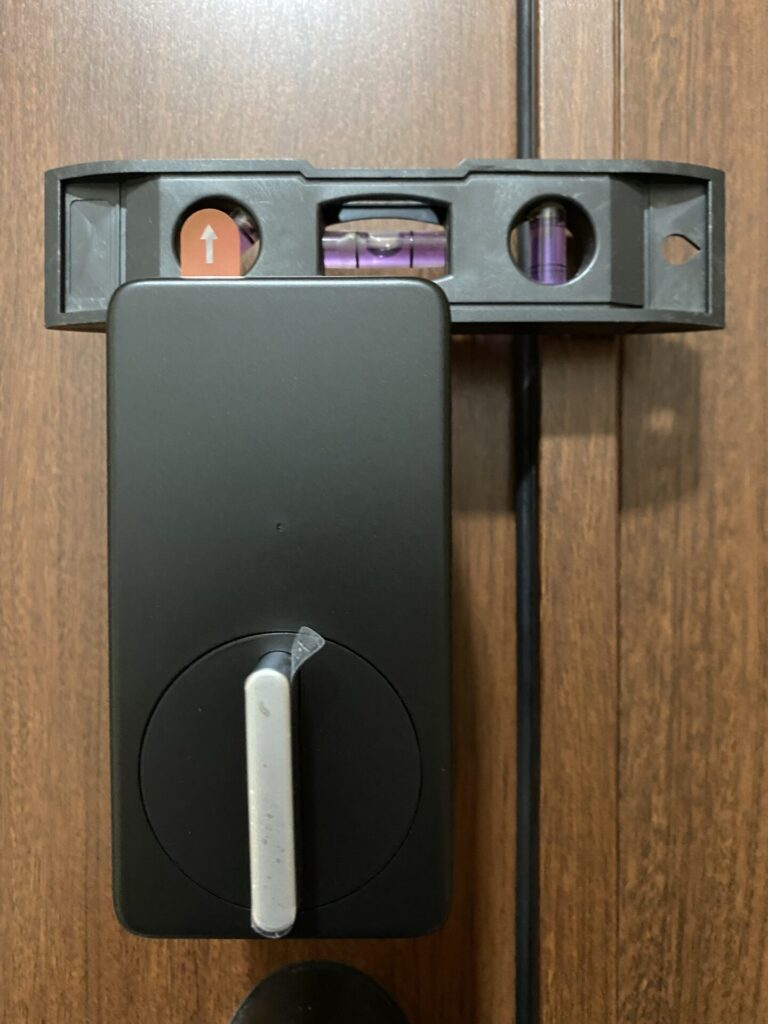
水平器があればこんな感じで確認してね。
次にこの赤のシールを外します。

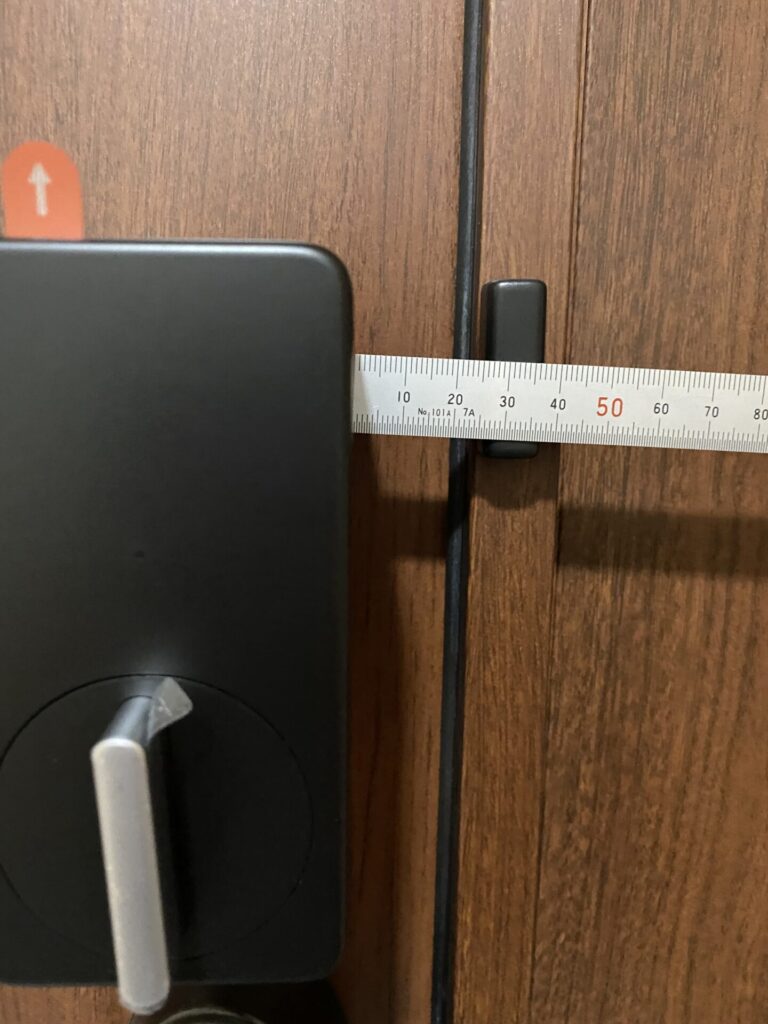
ドアの開閉検知のマグネットを取り付けます。
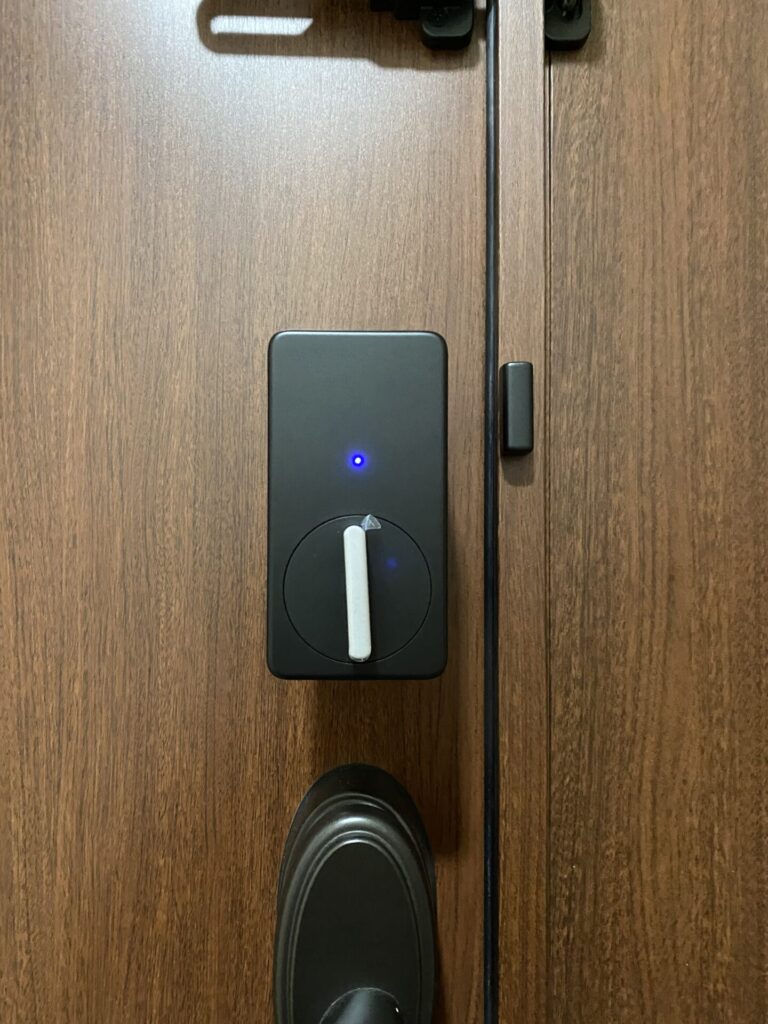
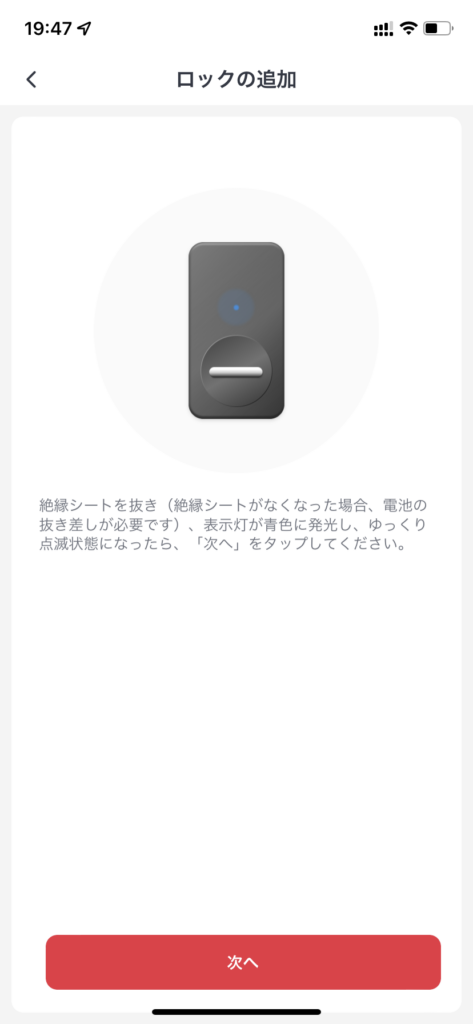
上の絶縁シートを取り外すとこのように青ランプが点灯します。
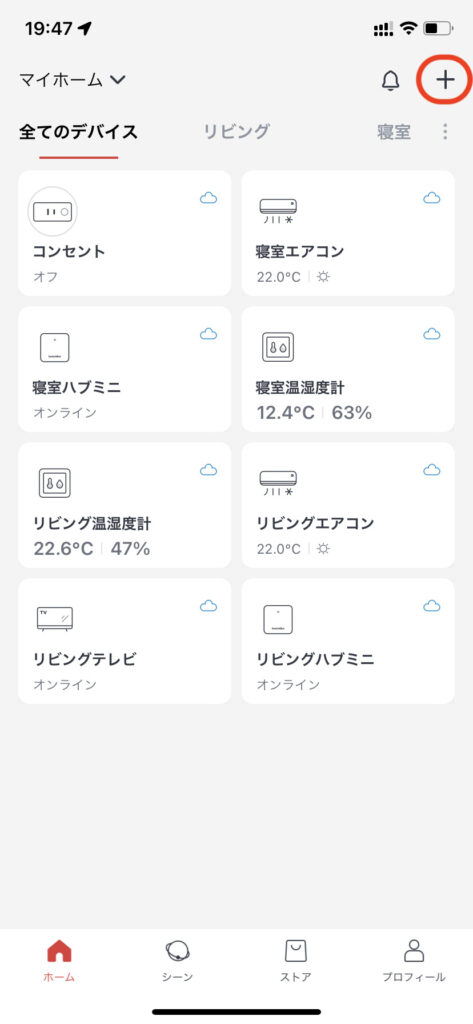
アプリ初期設定
1「+」を押す。
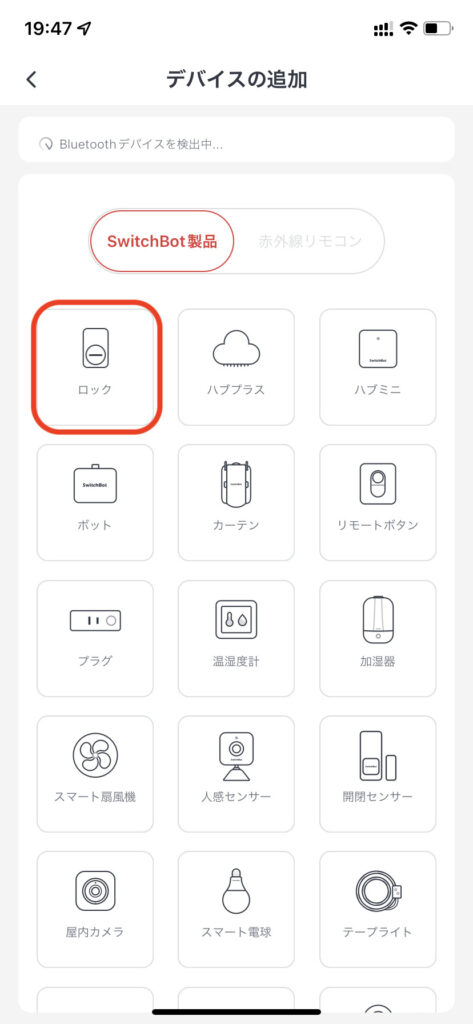
2「ロック」を押す。
3「次へ」を押す。
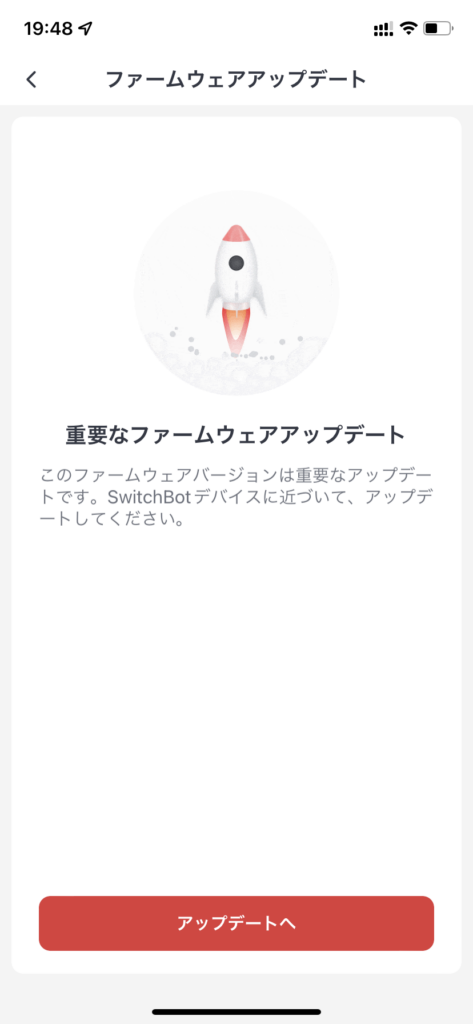
4 ファームウェアアップデートが
表示されたら「アップデート」を押す。
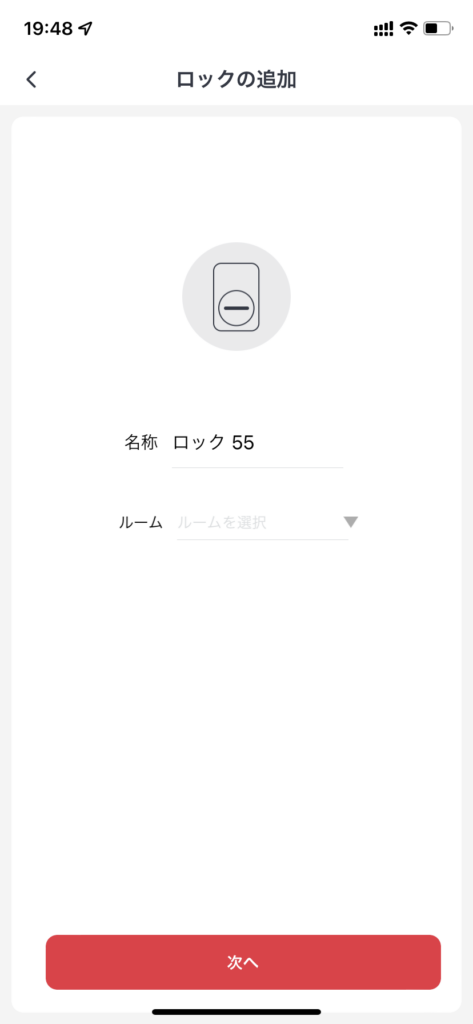
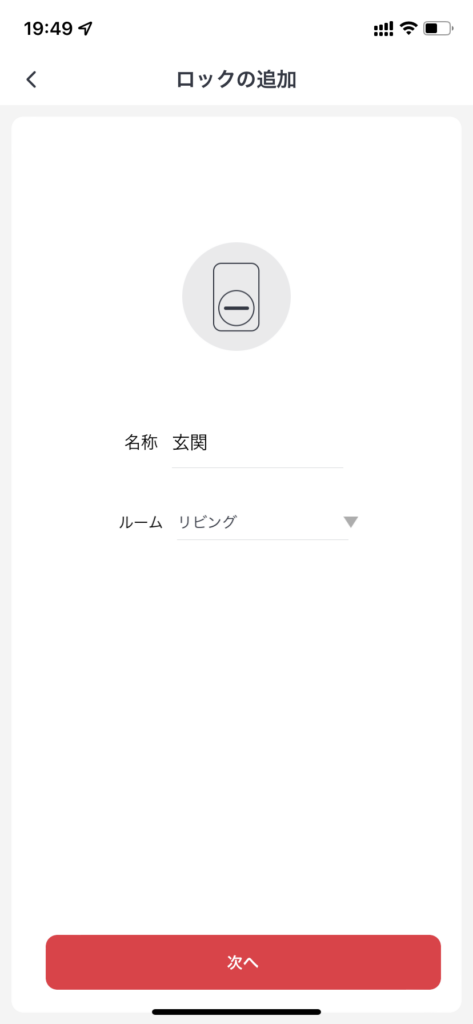
5「名称」と「ルーム」を設定します。
6玄関でリビングにしました次へを押す。
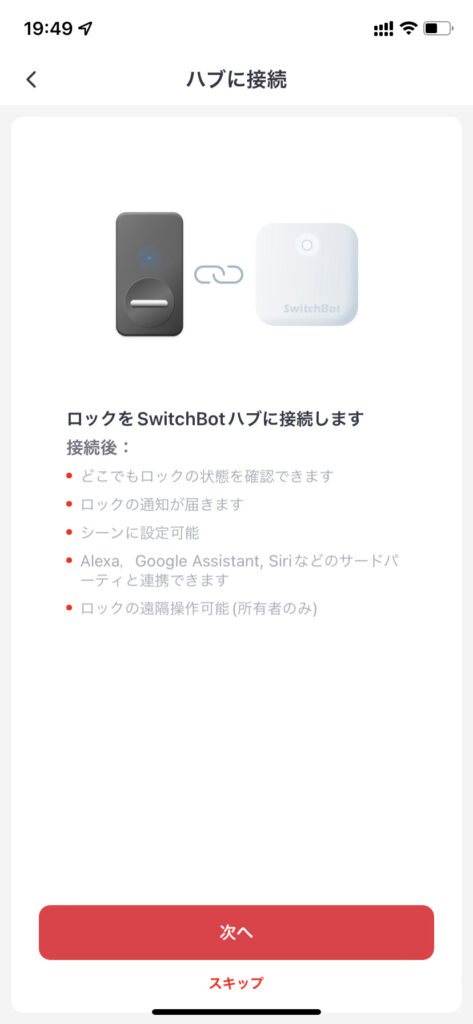
7SwitchBotハブに接続しますので次へを押す。
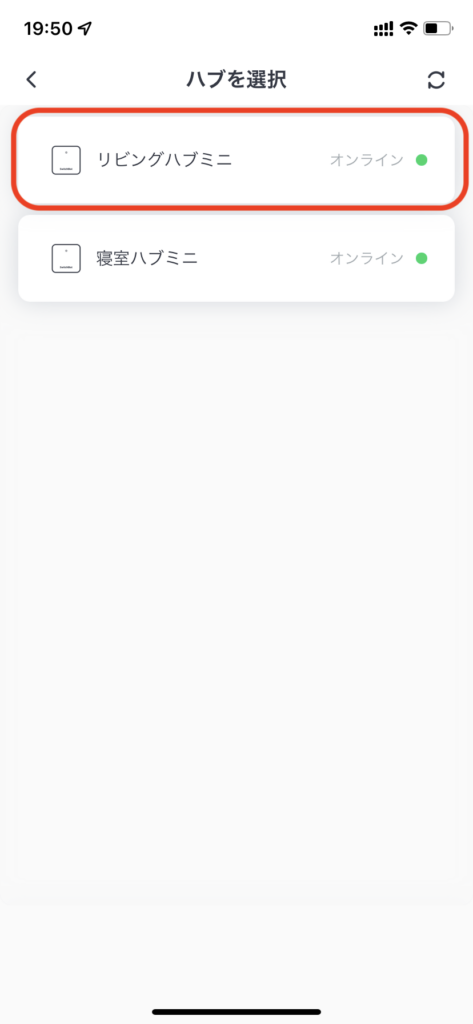
8我が家では2つハブがありますので近くのリビングハブミニを押す。
9ハブに接続
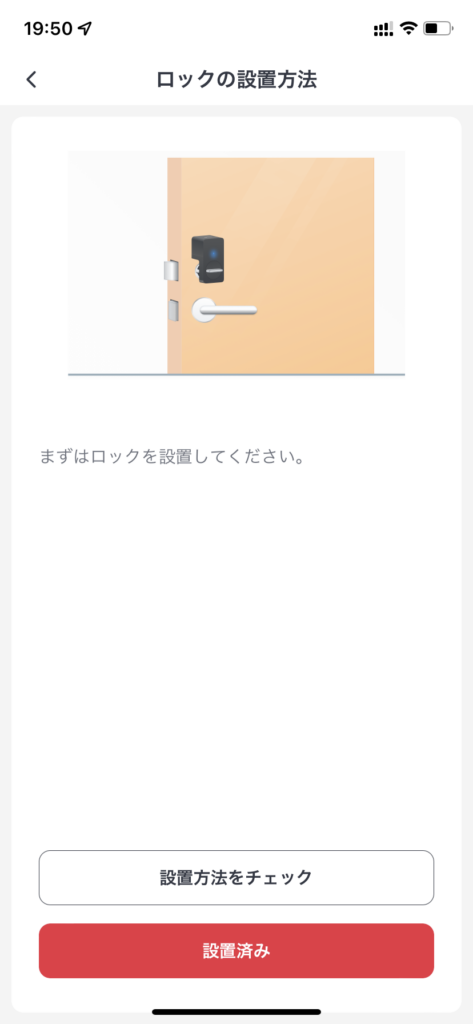
10ロックにして設置済みを押す。
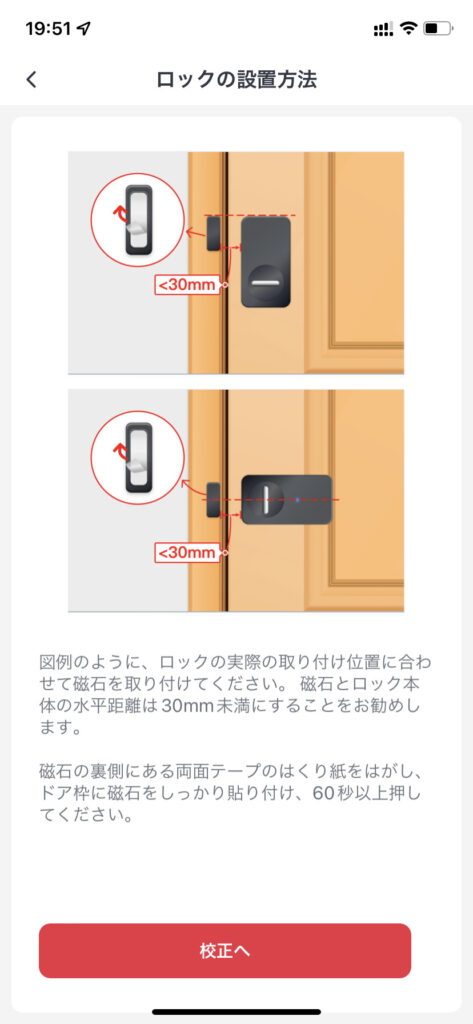
11ロックの設置の説明、校正へを押す。
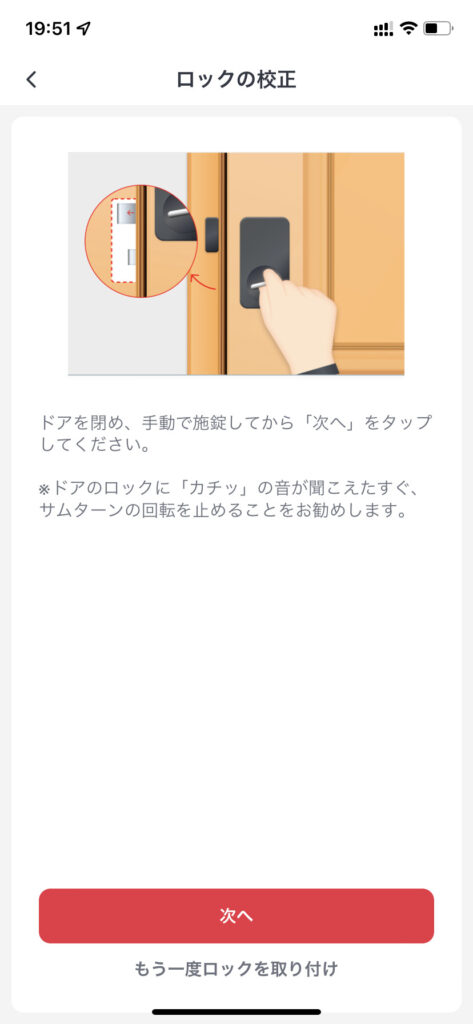
12説明通りにして次へを押す。
このように追加されます。

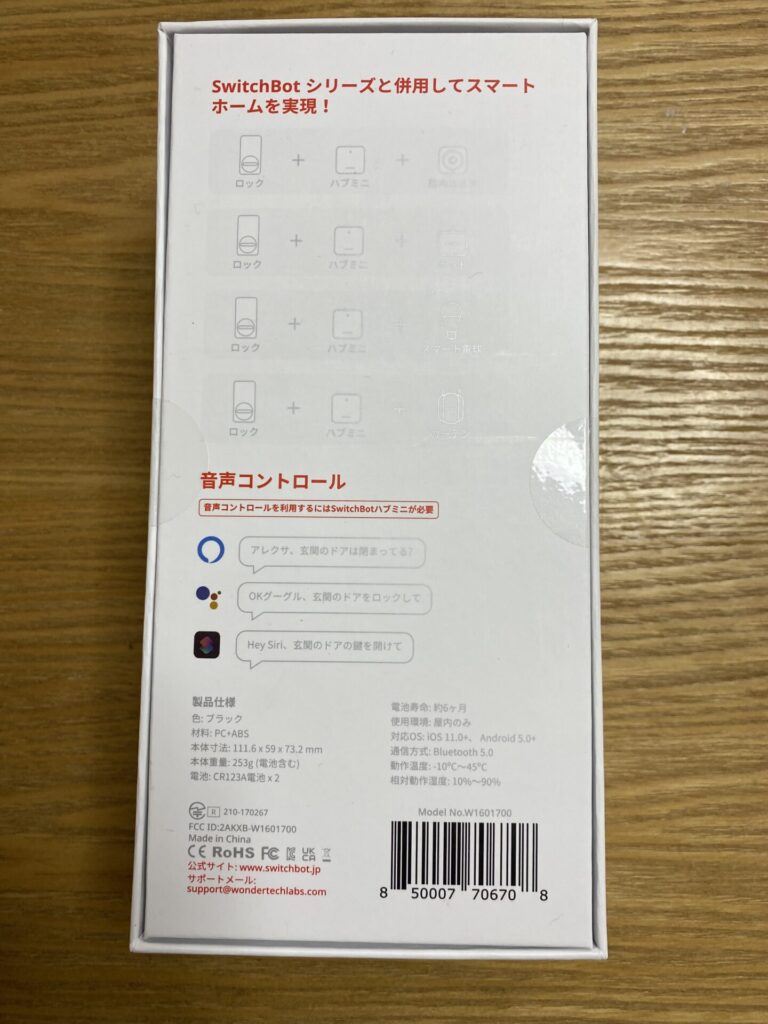
近づくだけで自動解除機能が付いて無い
Qrio Lockなどには、自動解除機能が付いていますが、SwitchBotには現在では機能がないです。
今後の機能改善を待っておこうと思います。
SwitchBot ロックのウィジェット
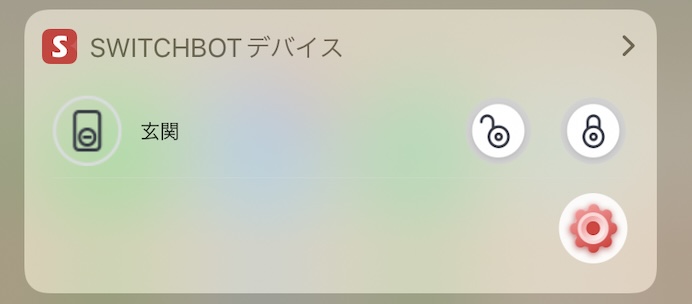
このようにウィジェットがありますので公式サイトを見てね。
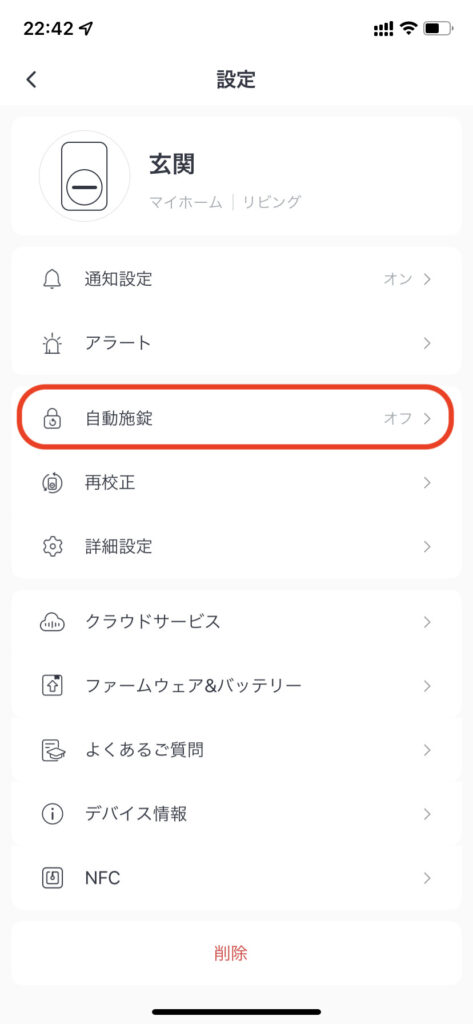
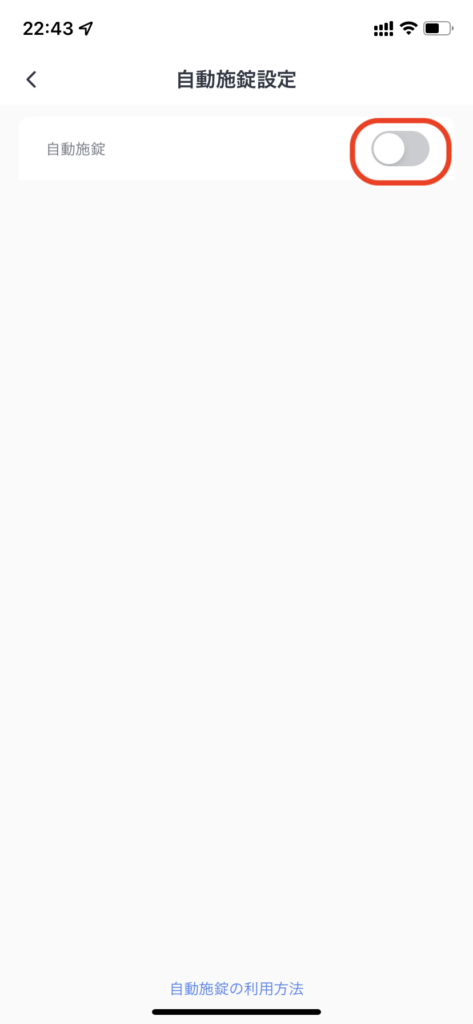
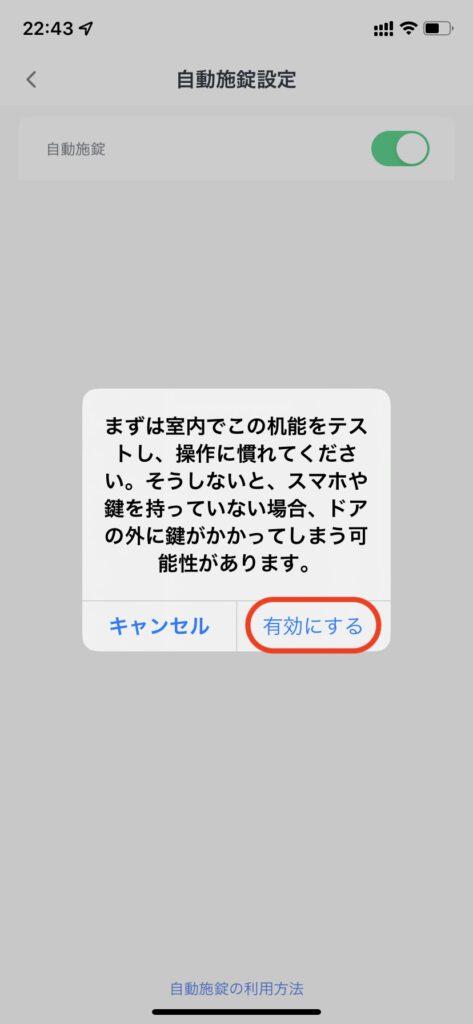
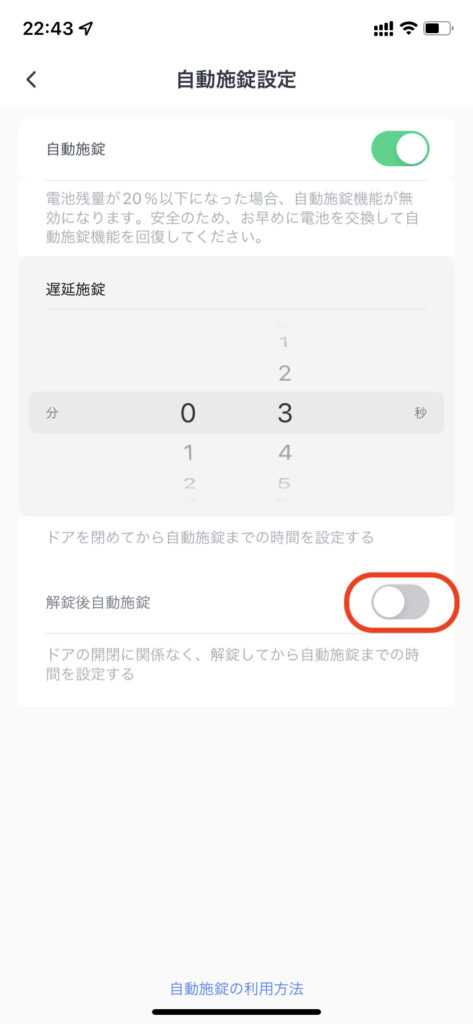
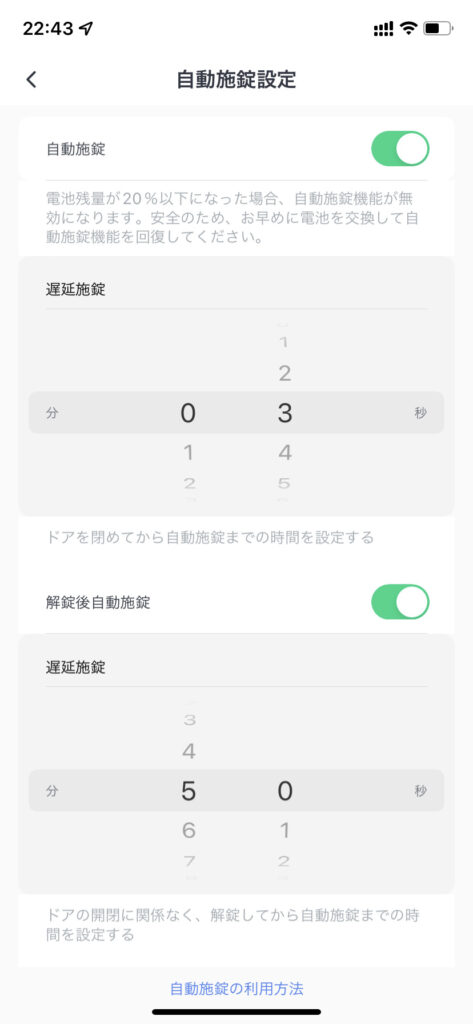
自動施錠機能は、ちょっと注意!
ホテルのオートロックのように施錠されてしまって、スマホを持って無いと家に入れ無いことになりますので注意して下さい。
最後に
Amazonで購入すると少し安いよ
リンク
購入を検討している方は、ご購入の前に見てね。

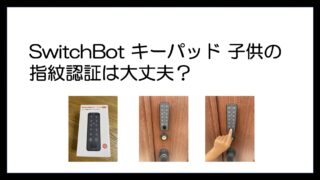
SwitchBot キーパッド 子供の指紋認証は大丈夫?
『子供の指紋認証は大丈夫?』
結果は、指紋認証できました。
登録時は、とても認識しにくく登録して確認しても指紋認証されずエ...

![]()